Photographing Miniatures and Game Books: Solutions from a Bad Photographer
I am a bad photographer. The only reason I ever shoot anything is because I cannot find a better shot of the object in question somewhere on the web. Sadly, for my game reviews and especially the miniatures, the web does not have any images I can use. Instead, I lean on technology to make my shots look a bit better.
Bear in mind that cost was the primary consideration for my blogging photography setup. I needed something to do the job cheaply. Happily, the whole project came in at around $200.00.
The camera is the obvious starting point and I did some research at Consumer Reports for their suggestions. After reading the reviews I quickly decided the high-end SLR cameras were just too expensive and I was not skilled enough to use all of the bells and whistles. The down-side is the SLR units have the best macro (small-scale) zooms, which is great for shooting miniatures. So I went with their “best buy” point and shoot camera: Panasonic Lumix DMC-FP8 12.1MP Digital Camera with 4.6x POWER Optical Image Stabilized Zoom and 2.7 inch LCD (Black)![]()
This camera does the job for my vacations and has a decent macro. Here is a shot of the Ex-Illis William Wallace promo miniature. Click on the image for the full-sized version.
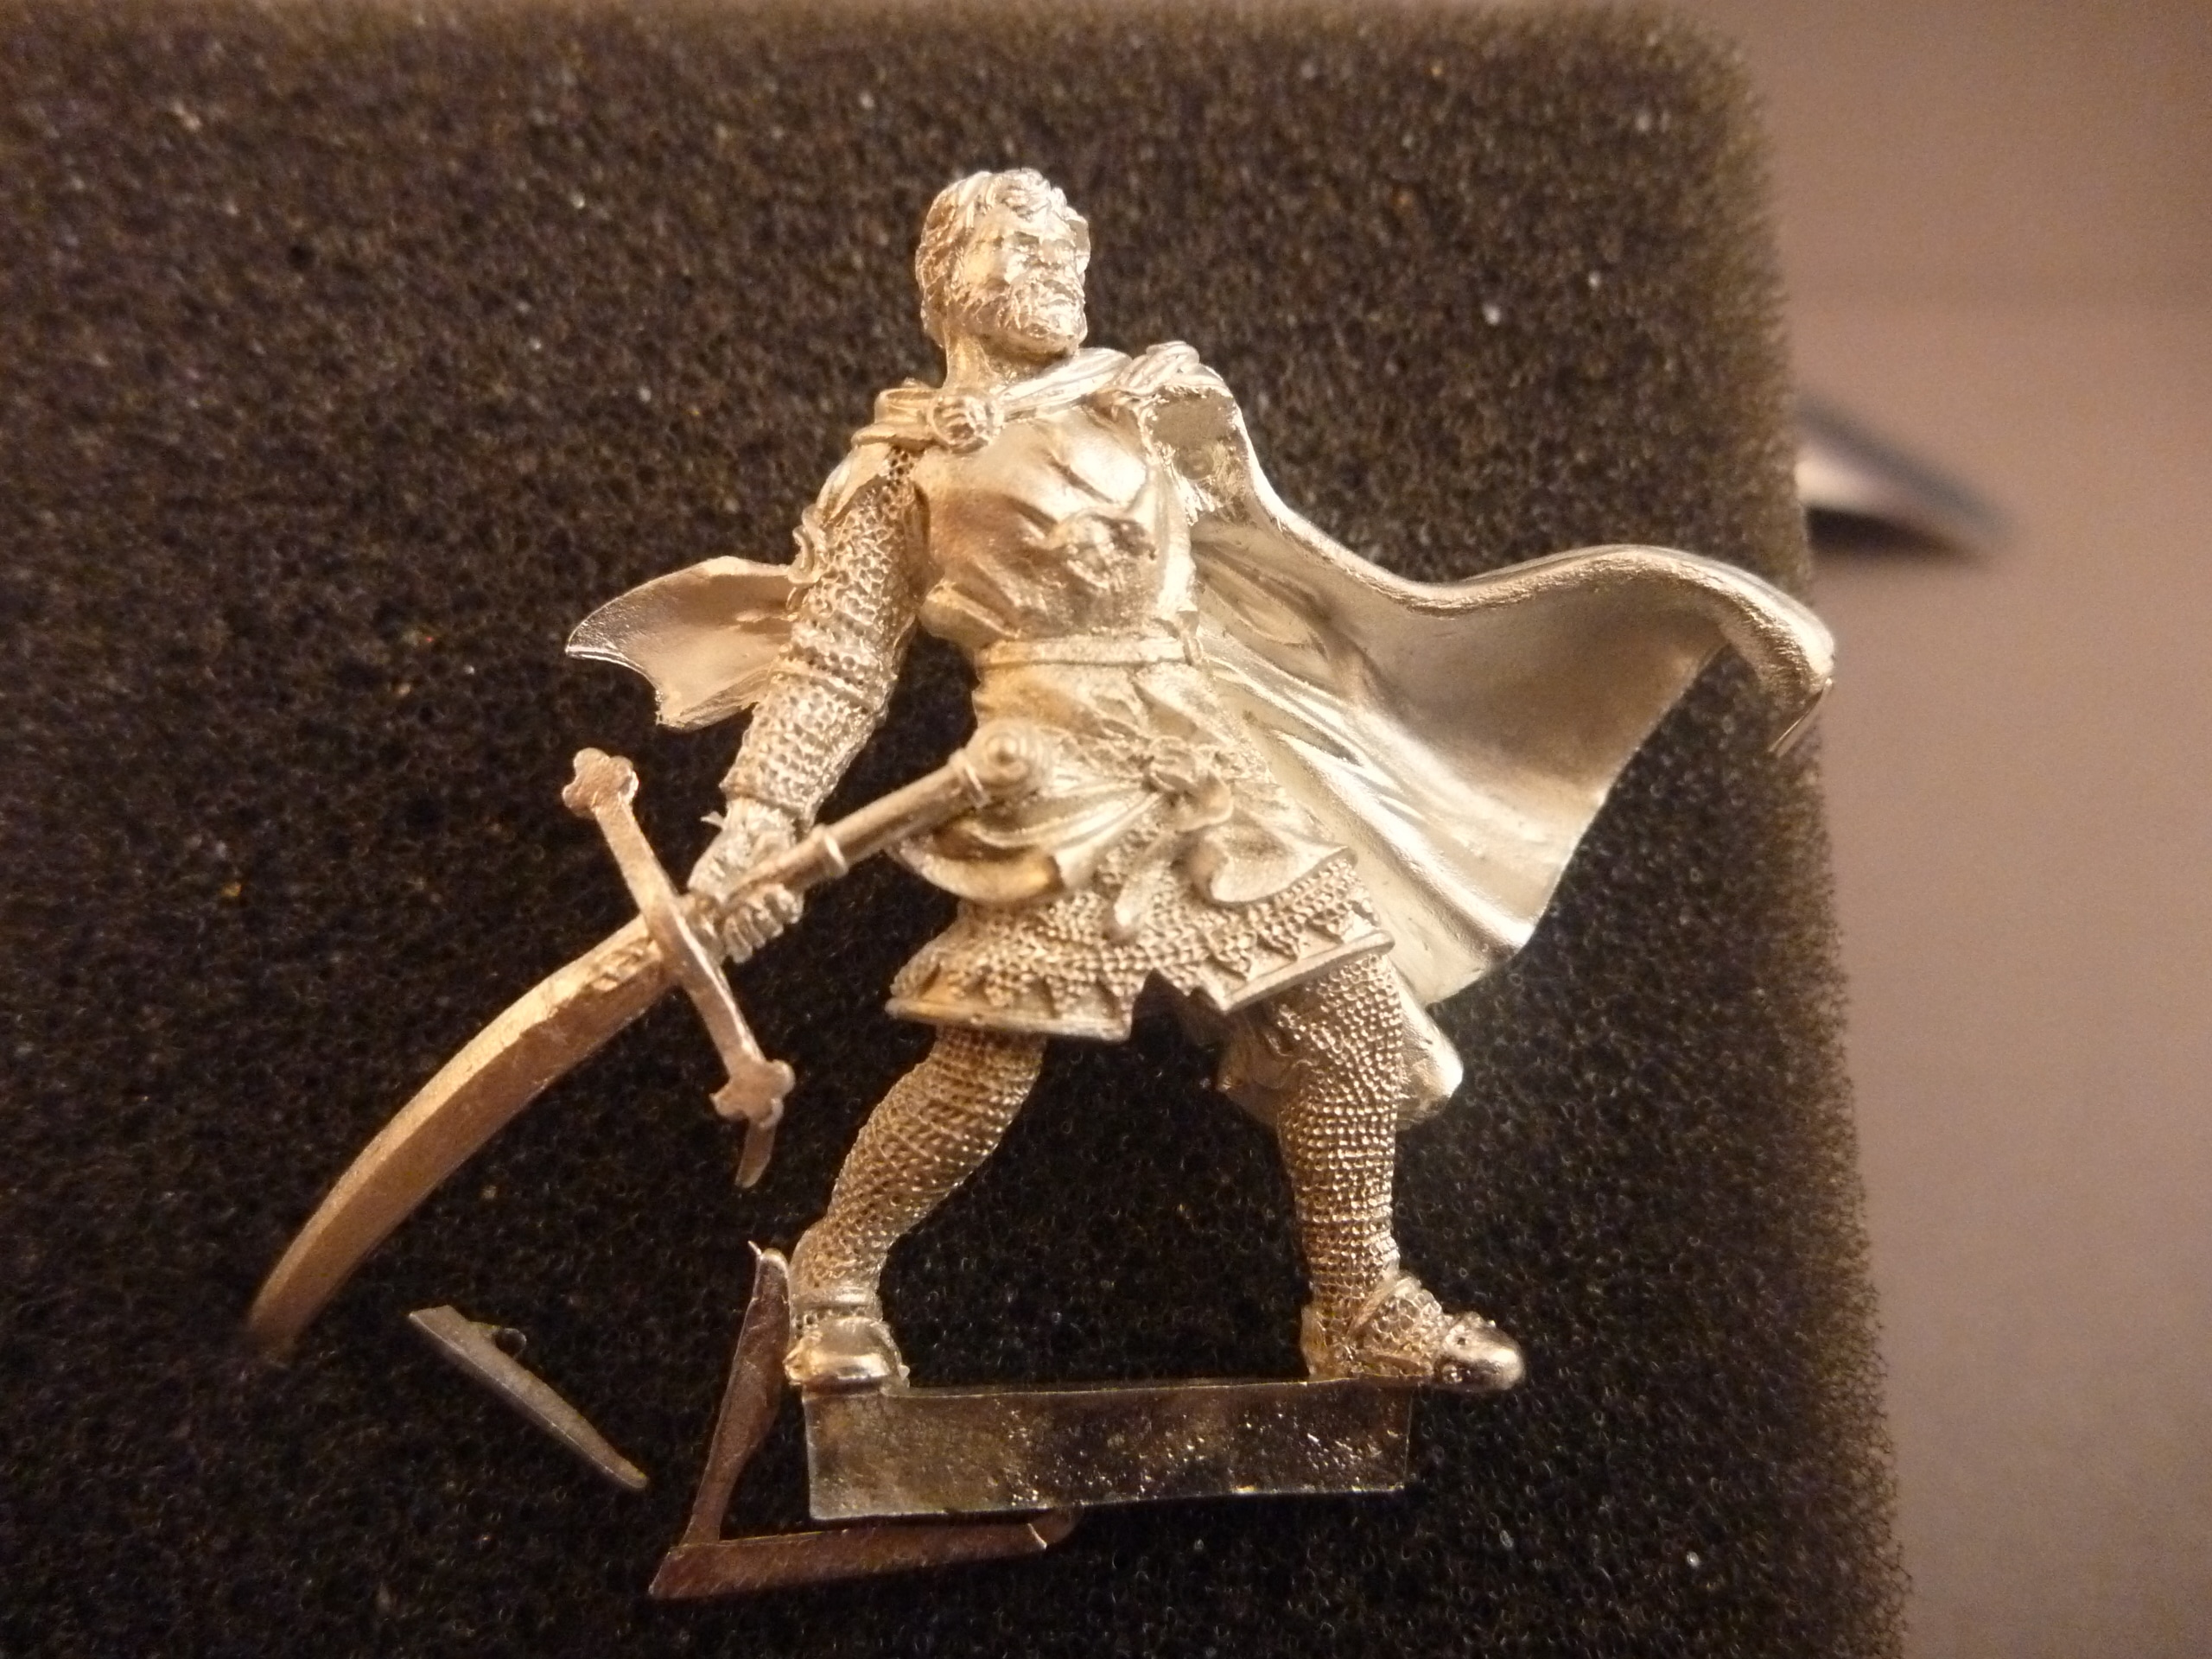
I think it turned out pretty well, given my inexpensive equipment and limited skills. Wililam was especially tough due to his metallic shine. Painted miniatures are a bit easier.
The camera is only part of the equation. Lighting is also a major issue and it drove me crazy until I found this:
Digital Concepts Ps-101 Portable Lighting Studio![]()
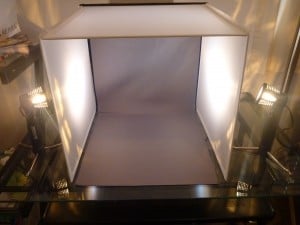
This portable lighting setup uses the white nylon sides to diffuse the light down to a useful level. It makes macro photography, which often cannot use a flash, much easier. The black, glossy covers favored by many companies is a nightmare to shoot without great lighting. Glare creates a white spot in the image. My little lighting studio takes care of the issue rather nicely.
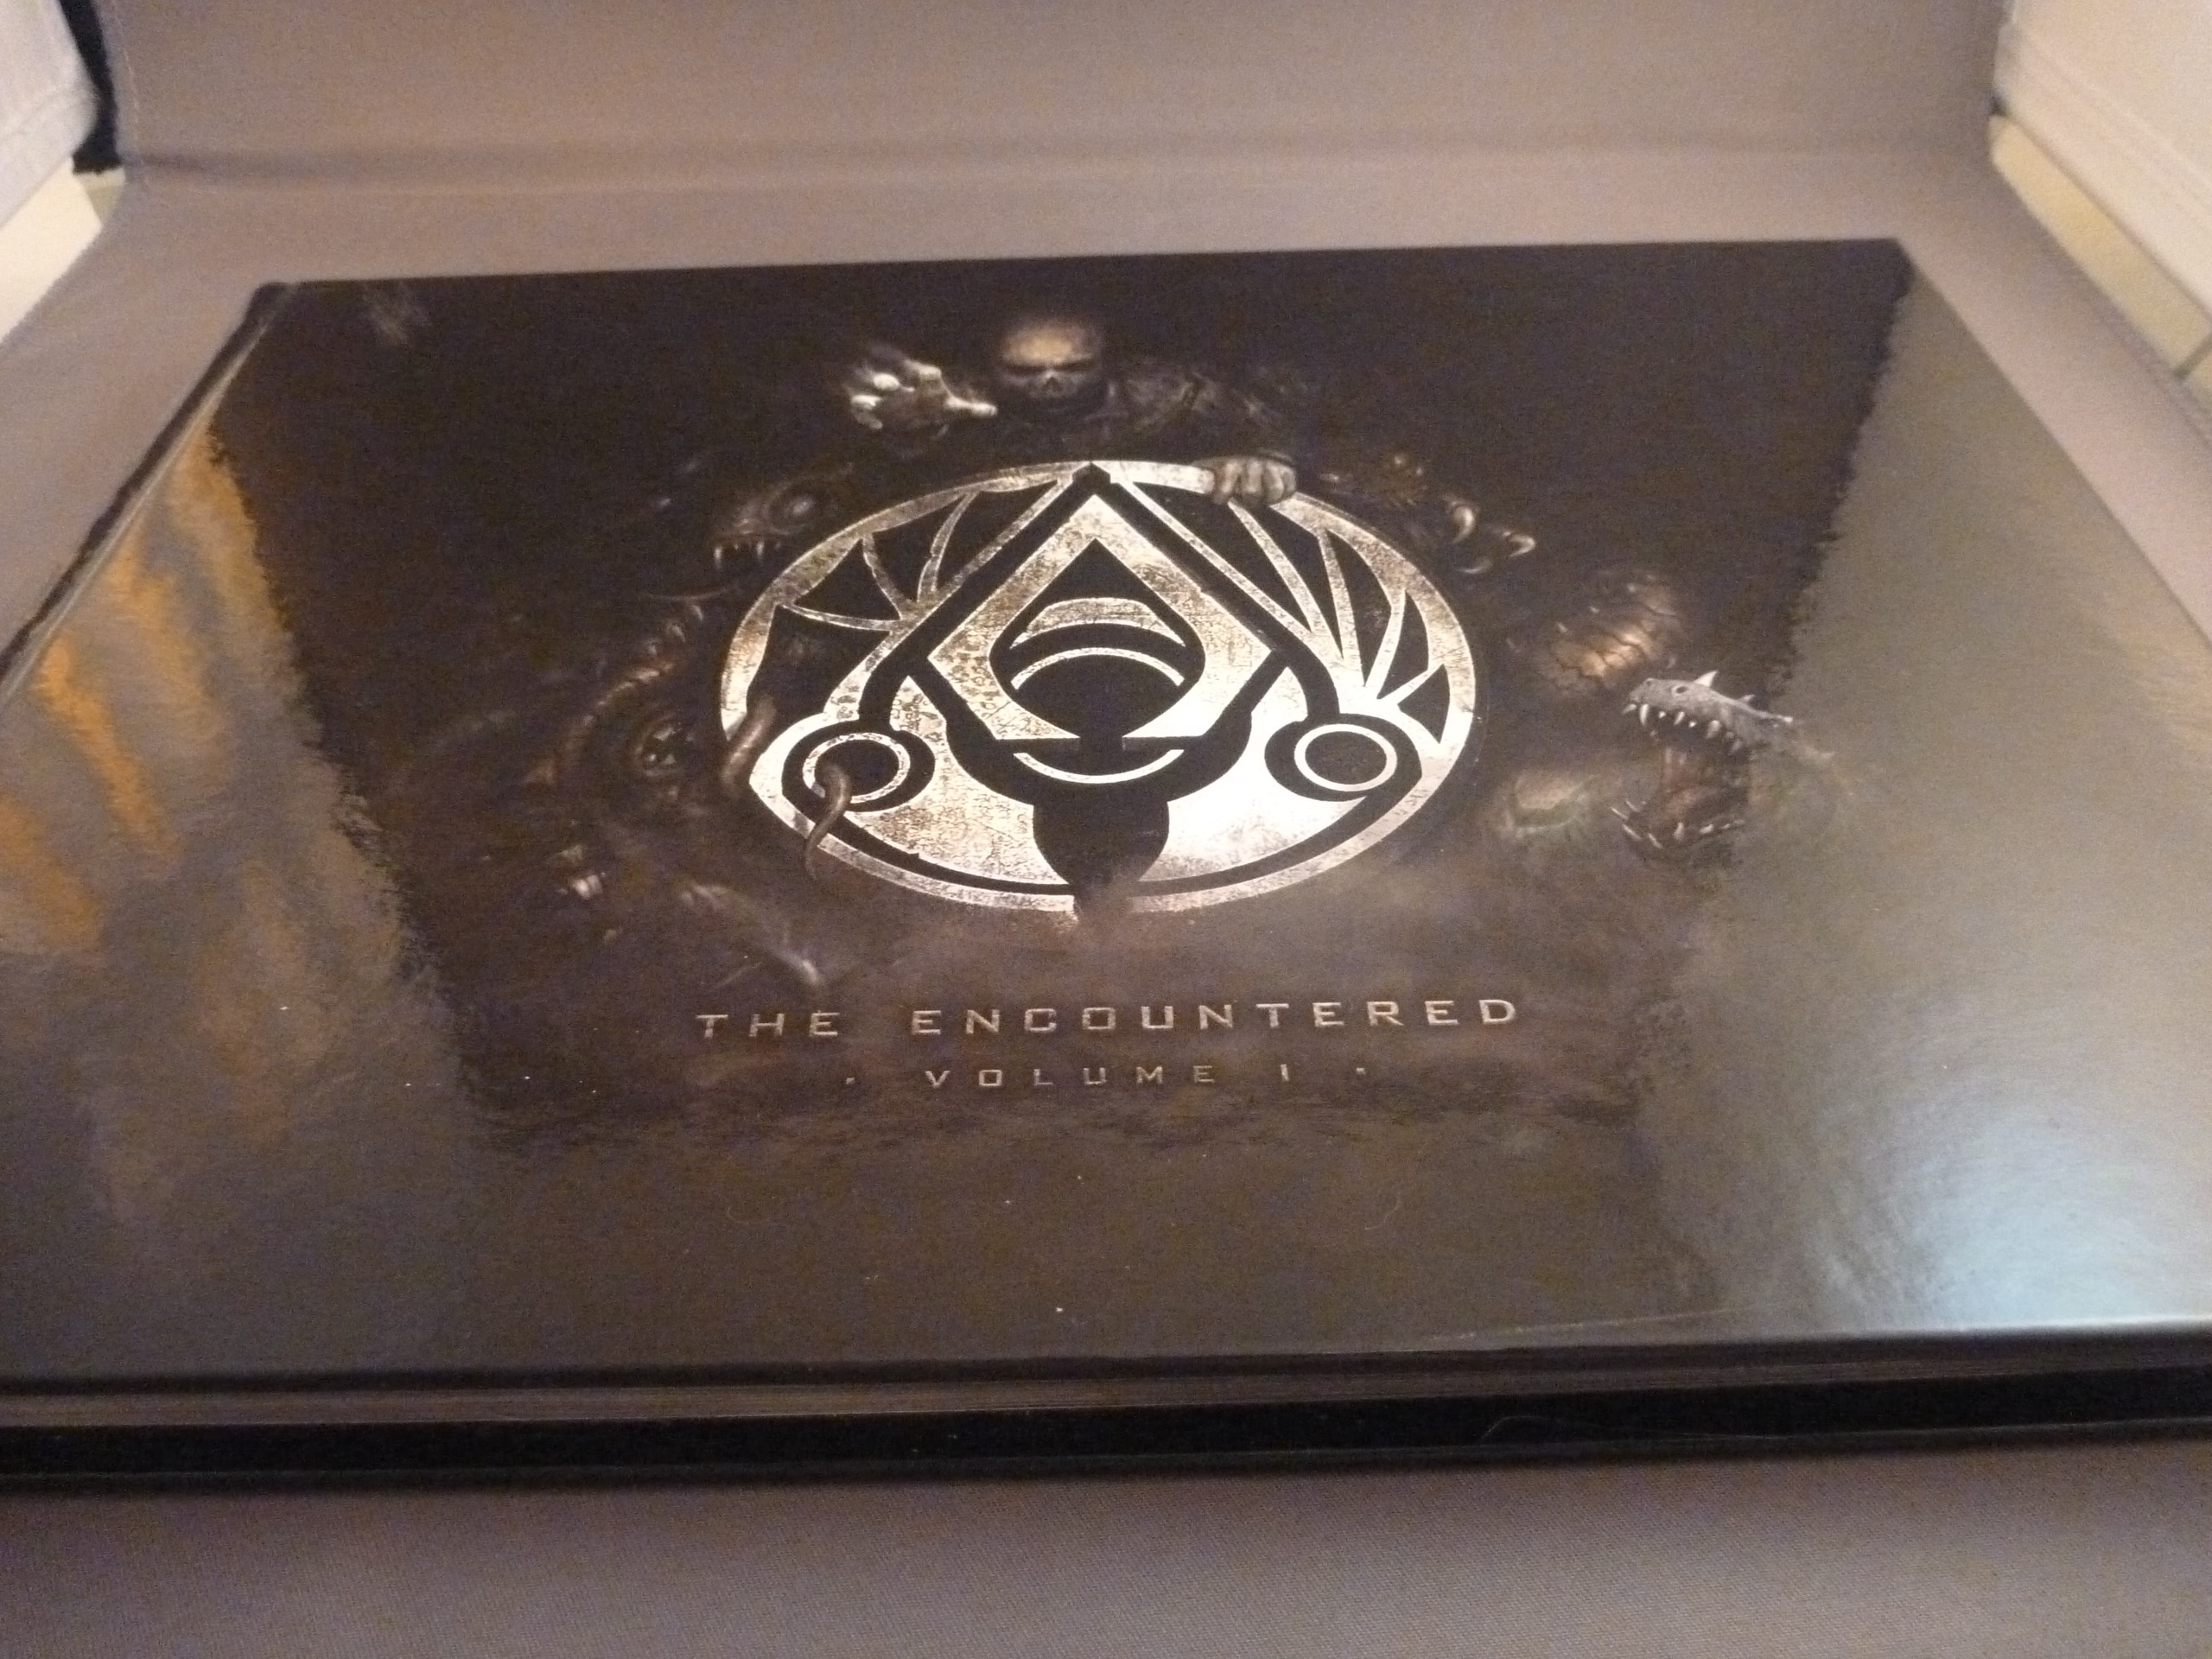
Here is a shot of the Alpha Omega book in the light box. Still some glare, but much better than using a flash.
The lighting setup collapses down to make it portable, but I recently set it up in a spare bedroom permanently to reduce setup time.
Speaking of time savings, I picked up a gizmo that is really making my blog photography easier. The Eye-Fi
Eye-Fi Home Wireless 2 GB Secure Digital Card (EYE-FI-2HM)![]()
The Eye-fi is a 2 Gb SD card for a digital camera with a wi-fi connection. I configured it using the included SD card reader to connect to my router and it automatically transfers all of my images to my computer wirelessly. After taking a picture, it arrives on my computer in about 30 seconds. I do not need cables or to remove the SD card to get my photos. Online chatter suggests the eye-fi may impact battery life, but I only use it at home, so that is not an issue for me. It is so much easier to get a nearly immediate look at the image on my big-screen monitor before I judge it “good enough.” The camera screen is ok, but the small screen conceals defects in the shot only visible on a monitor.
That is my setup and I hope it helps those looking for a low-cost solution to game and miniature photography. More importantly, look forward to better photographs on Livingdice.com!
Please contact me if you have any questions or leave a comment with a helpful hint. Believe me, I need all the help I can get!
Trask, The Last Tyromancer
Light boxes are swanky stuff. A perennial topic over on Lifehacker is how to construct one on the cheap. Sometimes I think they’d be better served just buying and getting on with their lives than obsessing about DIY techniques.
So do you position a light over the box as well as the two to the sides?
No top light, just the sides. The top of my light box is opaque so I do not have that option. Since I spent a total of $30.00 on the light box, DIY just did not seem worthwhile.
Trask
Pingback:Celebration Friday! « Old School Rant
Where did you get OR what are you using as a back drop paper (currently black)?
Could you use this type of setup for a green/blue screen “claymation” miniatures photography sequence?
Just curious.
Thanks.
*first time reader to your site